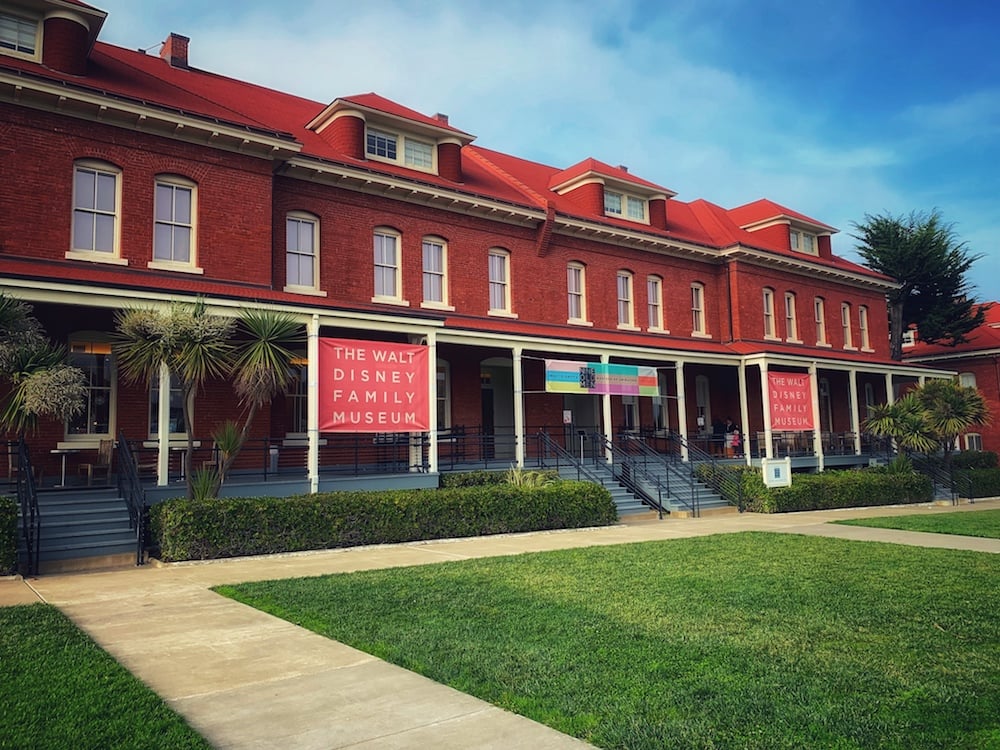
Hello friends, and welcome to the weekend! With all of the exciting news regarding Disneyland and Disney California Adventure and their not-too-far-away re-openings, it’s understandable that I have them on my mind today.
Right about this time during normal years, Disney California Adventure would be hosting the Disney California Adventure Food & Wine Festival. Since I’ve got the California parks on my mind, I thought it might be nice for us to do a Saturday Snacks recipe that focuses on them and gives them a tip of the hat as they ramp up toward their re-openings in late April. I’m just so excited for the cast members who will be able to go back to work again. May we raise a Watsonville Strawberry Pie Tart in their honor this weekend!
The Watsonville Strawberry Pie Tarts were introduced during DCA’s festival at the Strawberry Patch Marketplace in 2018. The bright flavor of strawberries is all over this Disney Festivals Cookbook recipe, and it’s a really good thing that it’s strawberry season here in Florida. Being able to buy gorgeous strawberries at a great price is a really fantastic thing! And pair those delicious strawberries with homemade thick, creamy vanilla custard? Yes, please.

Right off the bat, the ingredient list for the tarts had me backing up and punting. Thankfully, the recipe included a Tester Hack which lets us know that if small 3-inch pie crusts aren’t available in our stores, we can get a box of refrigerated pie crusts and cut 4-inch circles and bake them in a muffin pan as a substitute. Since my local stores had nary a mini pie crust, I opted to go the Tester Hack route.


Using two sheets of refrigerated pie crust resulted in enough dough to create 12 tarts. Since I lack a 4-inch round cookie cutter, I grabbed my favorite mug out of the cabinet, and, after measuring it with my handy dandy ruler, confirmed that it was indeed 4 inches wide. Whew. It would have to stand in for a cookie cutter. Necessity is the mother of invention ’round these parts.


I cut out the dough, and re-rolled the scraps (using my fabulous new rolling pin that my hubby gave me for Saturday Snacks’ first birthday…sniffle) to get 12 tart shells. I popped the shells into a 450 degree oven (as per the instructions on the box of dough) for 10 minutes.

As you might suspect, the bottoms of the shells puffed up just a bit. The tester hack didn’t call for pie weights, and I was without a bag of dry beans, so I had to take my chances. The end result wasn’t too bad, but it did make for a slightly smaller tart center, which, in the end, reduced the amount of custard that I could load into each shell. But I digress. We’ll cross that bridge when we get there.


Let your tart shells cool, and start washing those strawberries. If you’re making the full 16 tarts, you’ll need about 32 strawberries total. If you’re making 12, you’ll need less. After washing the strawberries, cut the stems and tops off, and then quarter half of the strawberries and set them aside.

I had leftover vanilla beans in the pantry from Victoria & Albert’s Chocolate Soufflé that we made a couple of Saturdays ago, so my next step was to cut one in half, and then in half lengthwise. Using a spoon, I scrapes the vanilla beans out of the bean shell, and then dropped them into a medium saucepan. A warning if you’ve never worked with fresh vanilla beans before: they are incredibly small, and they’ll cling to your fingers. Just try to get as many beans as you can into that pan. You can do it.

Along with the vanilla beans and vanilla bean shell, pour the 2 cups of whole milk and 1/4 cup of sugar into the saucepan, and get the whole thing going over medium heat. You want to heat the mixture until it’s just close to boiling. Once you get it to that point, you can pull it off of the heat for a few minutes.

If you’re feeling in the mood to multitask while the vanilla mixture is heating up, you can grab a medium-sized bowl out of the cabinet and begin creating the custard that will fill the tarts. In the bowl, whisk together 2 egg yolks, a whole egg, 1/3 cup sugar and 1/4 cup of cornstarch until everything’s completely combined.

Back at the ranch (or the stove), take half of a cup of the hot milk/vanilla mixture and whisk it into the bowl with the egg yolk mixture. Once that’s combined, you can whisk what’s in the bowl (yolk mixture) back into what’s in the saucepan (milk/vanilla mixture).

Once all of that is completely combined, cook everything over medium-low heat, stirring constantly until it’s thickened. I started to prep the next portion while things were heating, and didn’t quite stir constantly. Ahem. My apologies. Please stir constantly.

Once the mixture thickens into custard (and it won’t take long), pull it off of the heat and remove the vanilla bean shell. Stir in the 2 tablespoons of butter and the one teaspoon of vanilla extract.

Transfer the custard into a bowl and cover it with plastic wrap so that the plastic wrap touches the custard. We want the custard to remain soft, and if that wrap doesn’t touch the custard, you’ll have a gelatinous blob on your hands in no time. Eww.
Pop the bowl in the fridge and allow the custard to cool.

Now it’s time to get back to those tart shells. Grab your white coating chocolate (actually, from what I understand, white chocolate isn’t really chocolate, but that’s a discussion for another time) and pop a handful of those wafers unto a bowl. Melt the coating chocolate according to the package directions, and give it a good stir to make sure that it’s nice and smooth.

Using a pastry brush (or your husband’s barbecue sauce brush that you’ve used for everything but barbecue sauce for years), coat the inside of each tart shell with chocolate. And throw a few of those unmelted wafers into your mouth. You deserve it.

When the chocolate is set and the custard is cool, scoop or pipe the custard into each shell until 3/4 full. The muffin-sized tarts end up being smaller than what I believe the individual ready-made crusts would, so take this step with a grain of salt.

Place a whole strawberry point side up on top of your custard-filled tarts. The recipe now asks us to place four strawberry quarters around the whole strawberry.

I found that I needed to cut away most of the inside of each strawberry quarter to get it to fit onto the tart. This step adds a little bit of time to the process, but it helped keep me sane by allowing everything to fit in those little shells.

We’ve now come to the finishing touches. Store-bought strawberry glaze is up first, and the recipe simply asks us to warm it up. I grabbed a ramekin out of the cabinet and scooped some of the strawberry glaze into it. After a zap or two in the microwave, I determined that the glaze was way too thick to brush onto the tarts without knocking over those precious strawberry towers that I had made.

I added a bit of water to the glaze, stirred it up, and proceeded to attempt to brush the glaze onto the tarts. I say attempt because using the watered-down glaze was still a bit clunky. I mostly stuck with adding the glaze to the upper portion of the strawberry towers. It would have to do.

The last thing to add to the tarts – and this step is completely optional – is croquant. Croquant, as the tester hack explains, is French for “crispy” or “crunchy.” What type of croquant you add to your tarts is totally up to you. You could use chocolate curls, crushed nuts, sprinkles, or, as in my case, crushed shortbread cookies. I placed a shortbread cookie into a freezer baggie, and channeled my best Yzma. SMASH IT WITH A HAMMER! Well, butter knife handle. Close enough.

I sprinkled the crushed shortbread cookie bits on top of the tarts, et voilà! All done!

Dear friends, if you like fresh strawberries and thick, rich vanilla custard, you’re going to like these tarts. Guaranteed.

My one note about the tarts is that they’re a bit awkward to eat with the whole strawberry in the middle and the flaky crust tending to, well, flake. That being said, if you don’t mind how it gets into your mouth, you’re going to enjoy the flavor once it’s there.

The tarts are beautiful to look at, and would be the cutest thing at a family or friend gathering when we’re all doing those sorts of things again. For now, they’re the cutest things for our kitchen counter and our weekend snack-loving tummies. YUM.

What flavors are your savoring this weekend? What was the best thing that you ate this week? Please let me know in the comment section below. Whatever you’ve got going on today and tomorrow, I hope that your weekend is filled with bright hope-filled spots. And the bright taste of fresh strawberries, too.
Here’s wishing all the good things to the Disneyland and Disney California Adventure cast members and their guests. May the days ahead of you hold the most amazing things.
Ready to give DCA’s Watsonville Strawberry Pie Tarts a try? The recipe is below:
Watsonville Strawberry Pie Tarts (makes 16)
Pastry Cream
- 1/2 whole vanilla bean
- 2 cups whole milk
- 1/4 cup + 1/3 cup sugar, divided
- 2 egg yolks
- 1 egg
- 1/4 cup cornstarch
- 2 tablespoons butter
- 1 teaspoon vanilla extract
Tarts
- 16 (3-inch) pie shells
- 1/4 cup white coating chocolate, melted
- 1 1/2 pounds fresh strawberries (approximately 32), tops and stems removed
- 1/2 cup store-bought strawberry glaze
- 1/4 cup croquant, optional (see Tester Hack below)
For pastry cream:
- Cut vanilla bean in half lengthwise; scrape out seeds.
- Heat vanilla bean seeds, vanilla bean shell, milk and 1/4 cup sugar and medium pot over medium heat and bring almost to a boil.
- Whisk egg yolks, a whole egg, 1/3 cup sugar and cornstarch in medium bowl until combined.
- Whisk half cup of hot milk mixture into egg mixture; whisk into remaining hot milk mixture.
- Cook over medium-low heat, stirring constantly until thickened.
- Remove from heat and discard vanilla bean shell.
- Stir in butter and vanilla extract.
- Cover with plastic wrap directly on cream and refrigerate until cool.
For tarts:
- Bake tart shells according to package directions until golden brown and fully baked. Cool completely.
- Lightly brush inside of each shell with white coating chocolate.
- Once white chocolate sets, pipe or scoop pastry cream into shells to 3/4 full.
- Slice half of strawberries in four slices lengthwise.
- Place one whole strawberry tip pointed up and center and lean four strawberry quarters (tips pointed up) against the whole strawberry to create a tower.
- Warm strawberry glaze and lightly brush onto each tart.
- Gently press croquant around edge of each pie (optional).
Tester Hack: If you can’t find 3-inch tart shells, refrigerated pie crust works well. Use a 4-inch round, cut out pie dough and press into muffin tins; bake as directed. Croquant is French for “crispy” or “crunchy,” so be creative – mini-chocolate morsels, crumbled shortbread cookies or finely chopped nuts, for instance. And if you don’t want to create a strawberry tower, just pile cut berries into tarts and brush with strawberry glaze – it still looks impressive.